Perfecting the Travel Selfie
GET A GRIP ON YOUR IPHONE

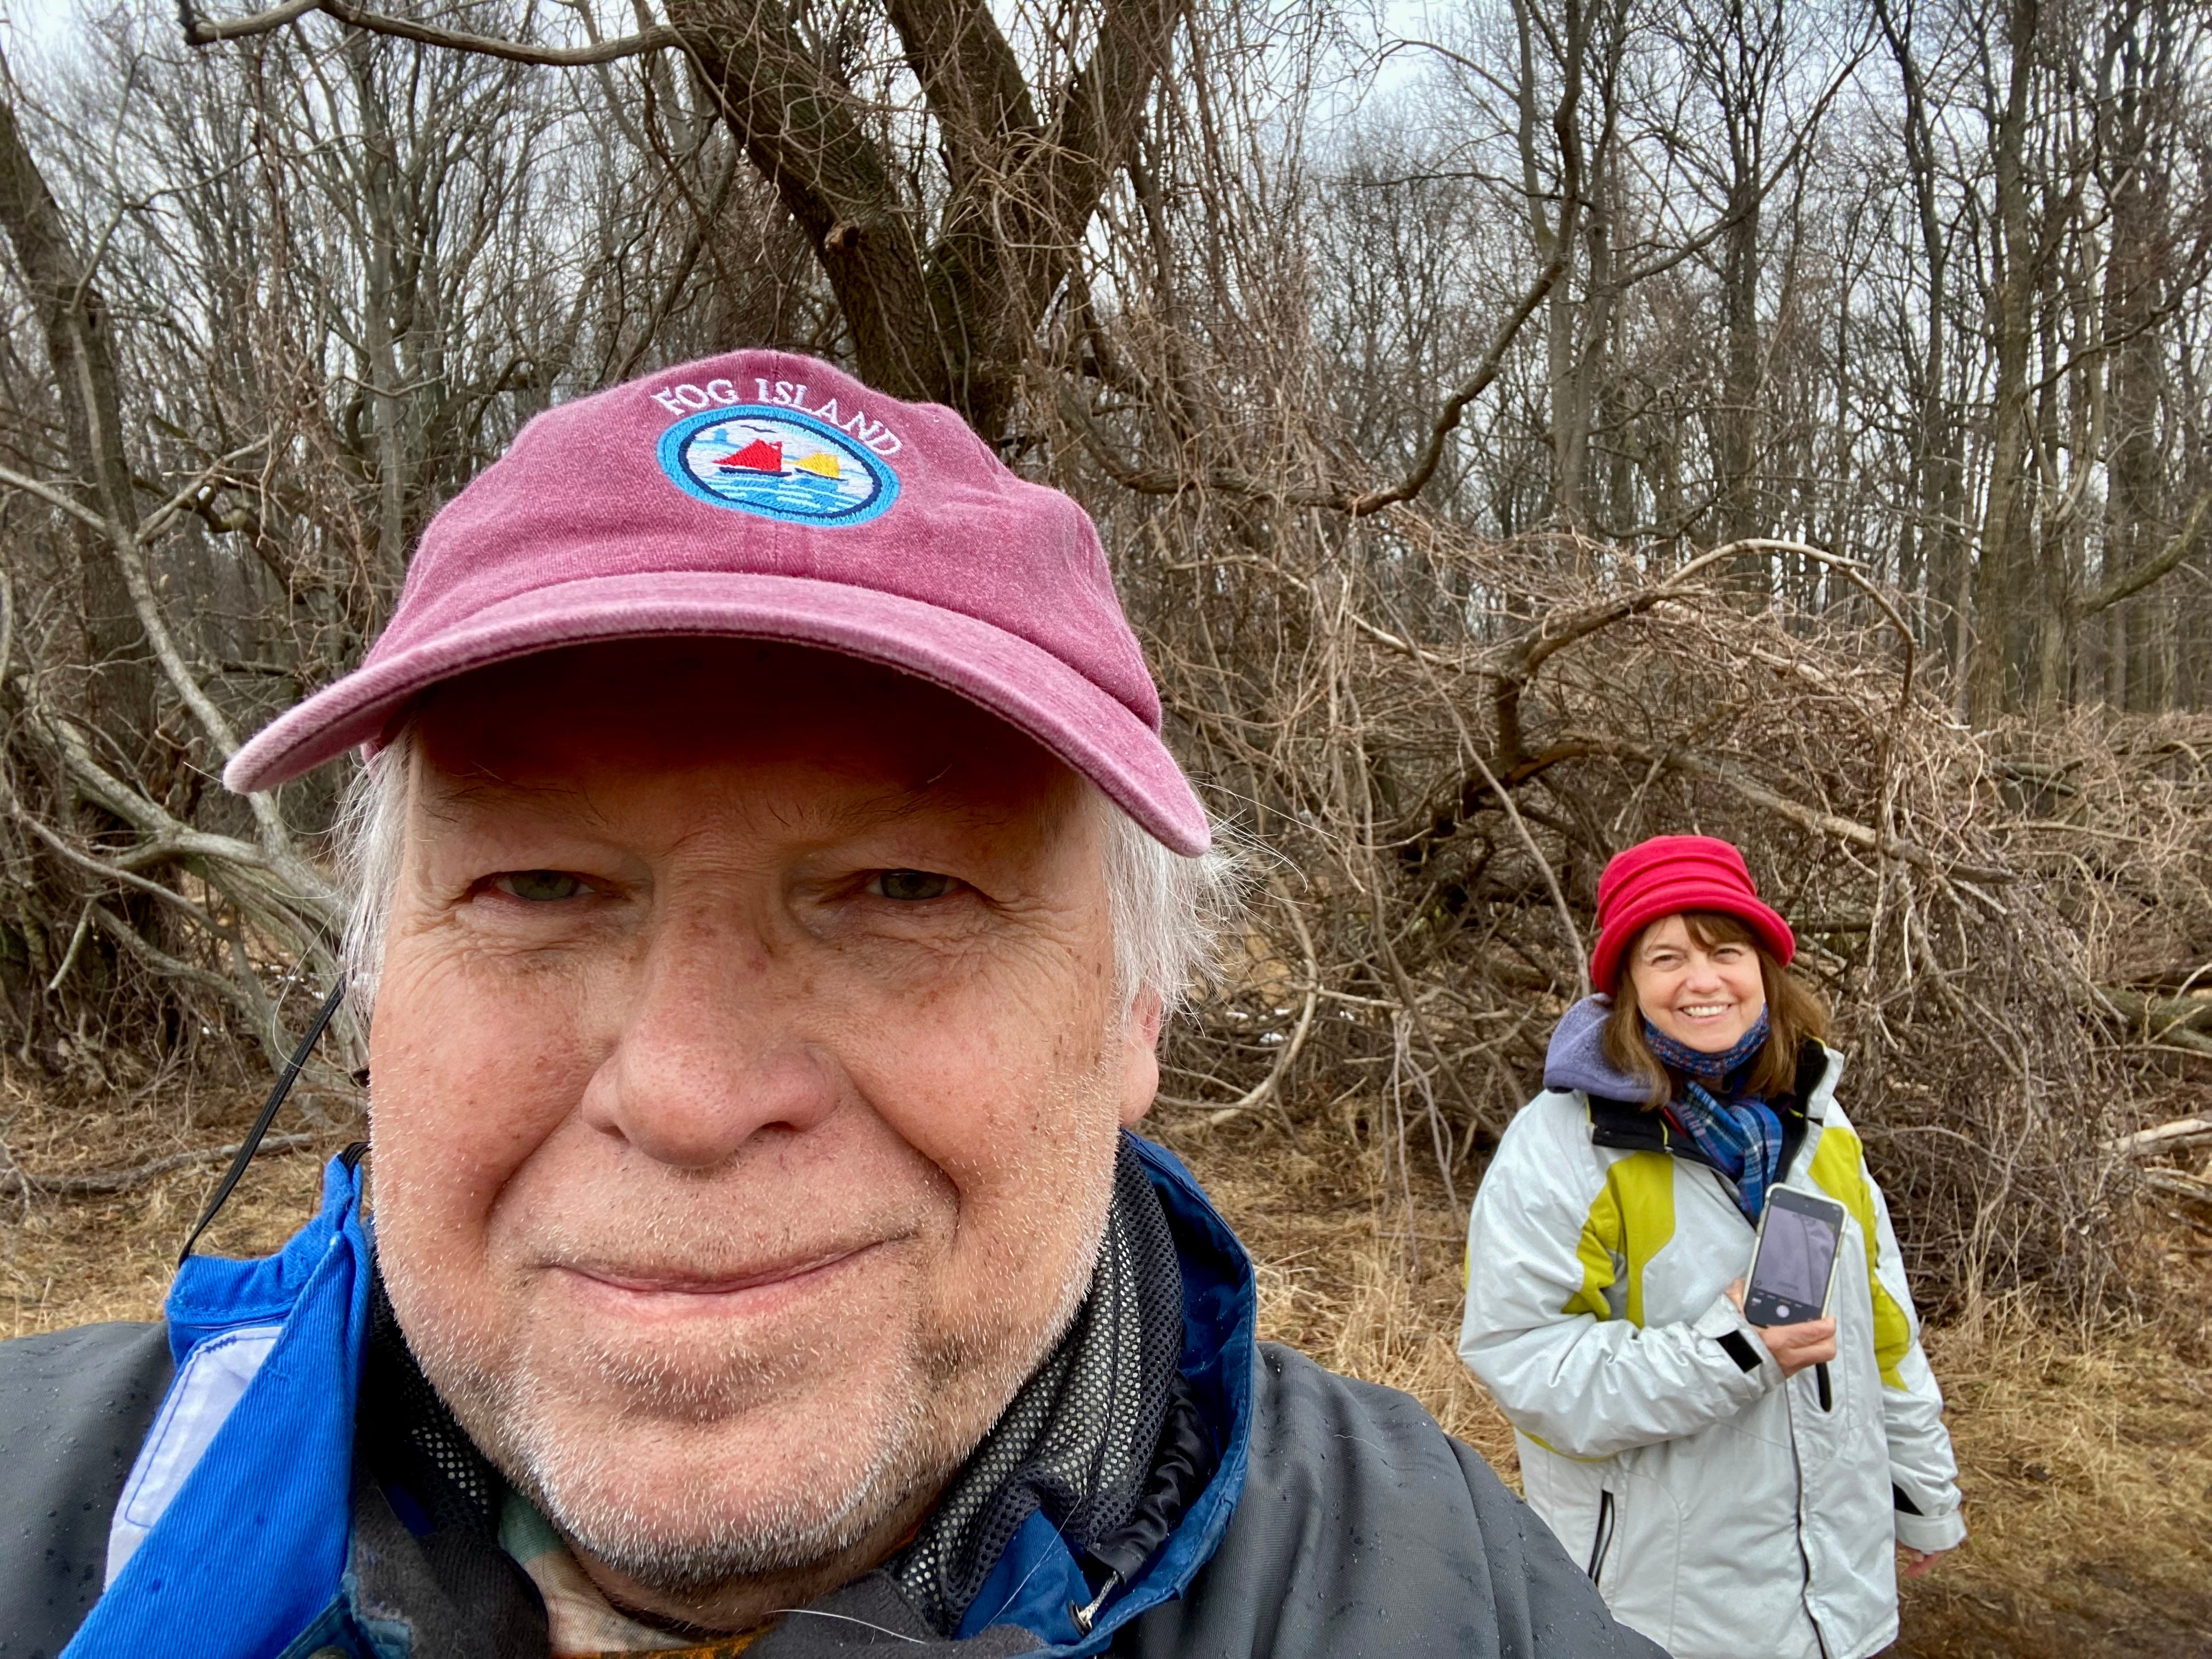
I just returned from a road trip through the southwestern U.S. that offered countless photo ops. From the glam of the Las Vegas Strip to near blizzard conditions in Utah, there was plenty to see and capture. Along the route we embraced the role of selfies in documenting our journey, as well as saw it played out for countless other travelers. With summer travel just around the corner, it seems timely to examine the in’s and out’s of travel selfie success.
Self-portraits have been a part of the travel experience since photography became somewhat portable, providing us with graphic proof that we were there, wherever “there” was. The pyramids in Egypt. Times Square. The Academy Awards. It’s us planting a visual flag in the ground. Like Sir Edmund Hillary on Mount Everest, but with more oxygen.
As it happens, next month marks the 15th anniversary of the front-facing camera on the iPhone. A feature that turned the iPhone 4 into a portable photo booth and created a whole subset of the self-portrait experience. Even though we think of ‘selfies’ as an iPhone thing, it’s only the latest technology for us to capture ourselves in a new place, with someone else, or just because.
So for travel self-portraits, we’re going to take the broad view. Travel selfies need a sense of place and you can’t always get that at arm’s length. Long before the iPhone, we used tripods, propped up cameras on tables, and self-timers. Today we can still do all that with an iPhone, but much easier.
Before we start, you want to be clear about 2 settings.
First, go into Camera Settings and make sure that MIrror Front Camera is switched off. This will ensure that all the signs and labels are right-facing and readable in your selfies. Even though your screen image is flipped as you compose it, the image will show up correctly in your Photos Library.
Next, note that the front camera now offers a Portrait Mode that blurs the background to feature your face(s). While that is a nifty tool for day-to-day self-portraits, it defeats the purpose of travel selfies because you want to see the surroundings. Yes, you can turn it on or off after the fact, but you don’t need it. Just sayin.’
THE SELFIE ZOOM
Let’s start with the hand held travel selfie.
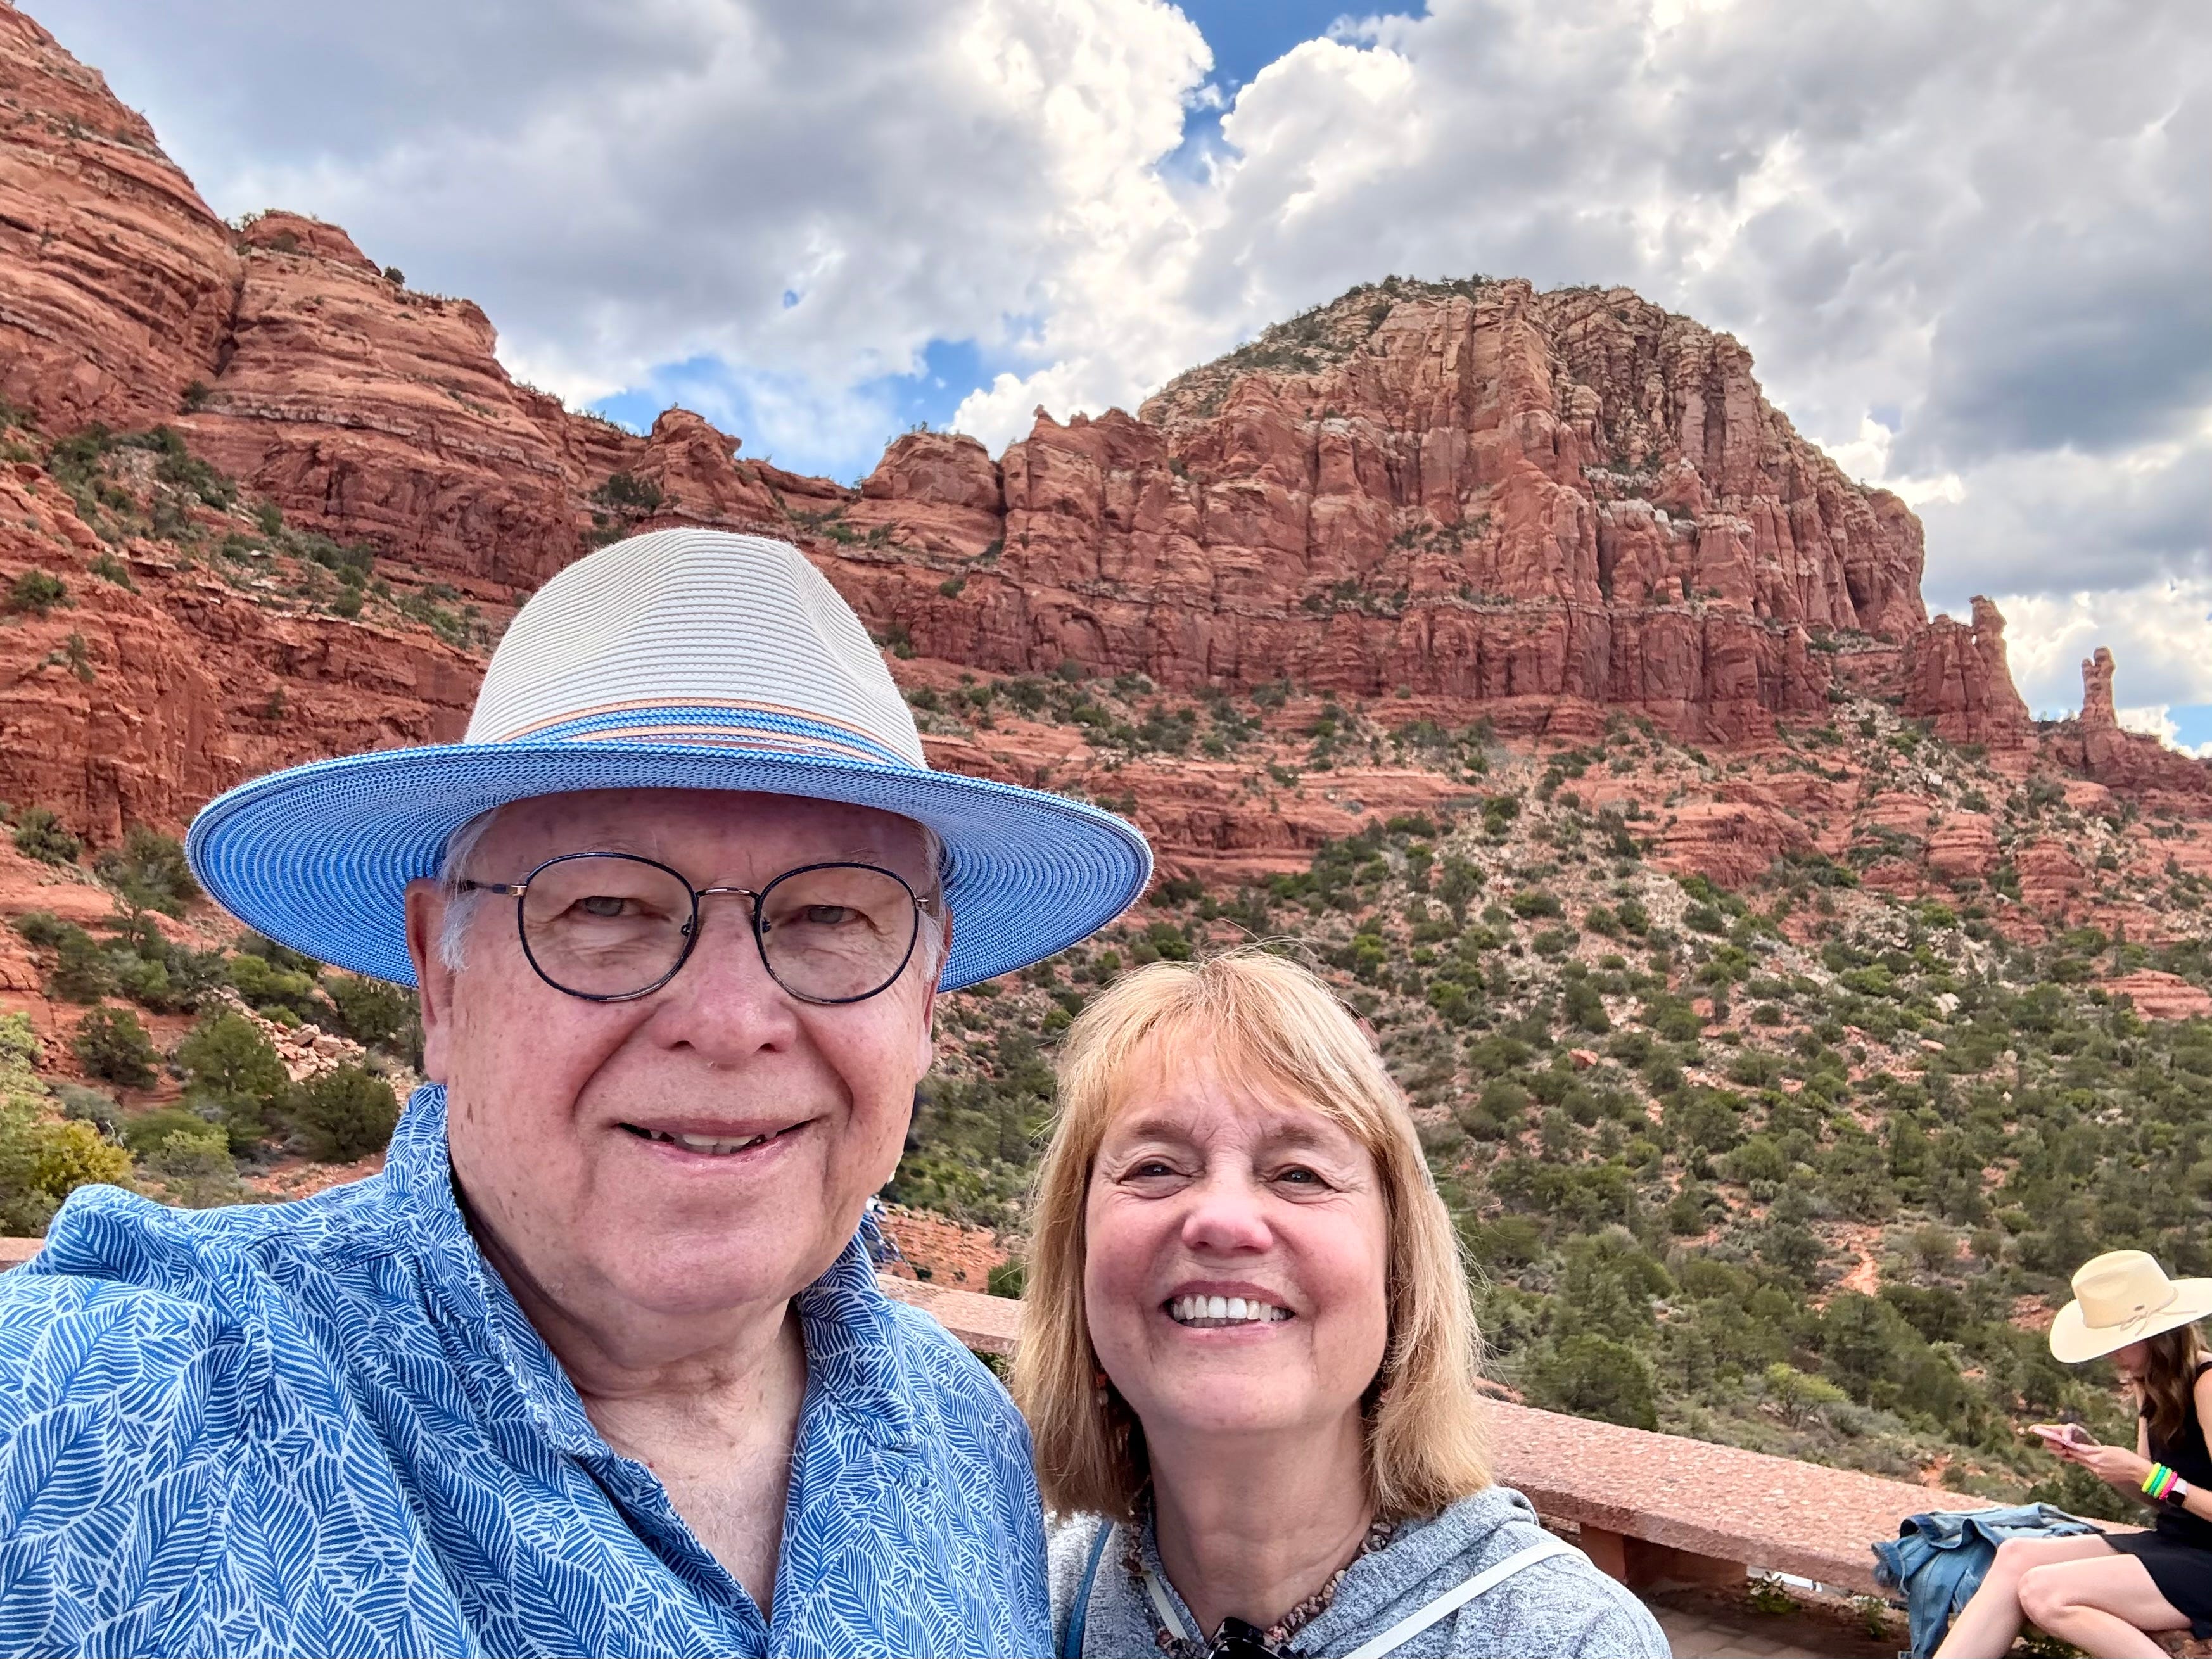
The trick with travel selfies is that you want to see enough of the surroundings to show the place. A tight selfie of your face(s) could have been taken anywhere. You need to pay attention to the framing of the shot and make sure the Eiffel Tower is really visible.

The challenge is holding your iPhone far enough away to include the surroundings, particularly when you have multiple people.
A good workaround is to use the front camera zoom. It shows up as a double arrow button on the screen, and tapping it gives you a wider angle image with more background.
GET A GRIP
The trick, of course, is to hold your iPhone far enough away from your face to get everything in the shot. In doing so, it’s tempting to use a precarious one-handed fingertip grip on your phone, but be careful. I’ve seen plenty of selfie experiences that flirted with dropping a $1000 iPhone over a cliff or into the ocean. If your iPhone case supports it, having a wrist strap is cheap insurance. And if you have an iPhone 16 series, use the Camera Control button to take the shot. It’s much more secure than poking the shutter button on the screen with your index finger.
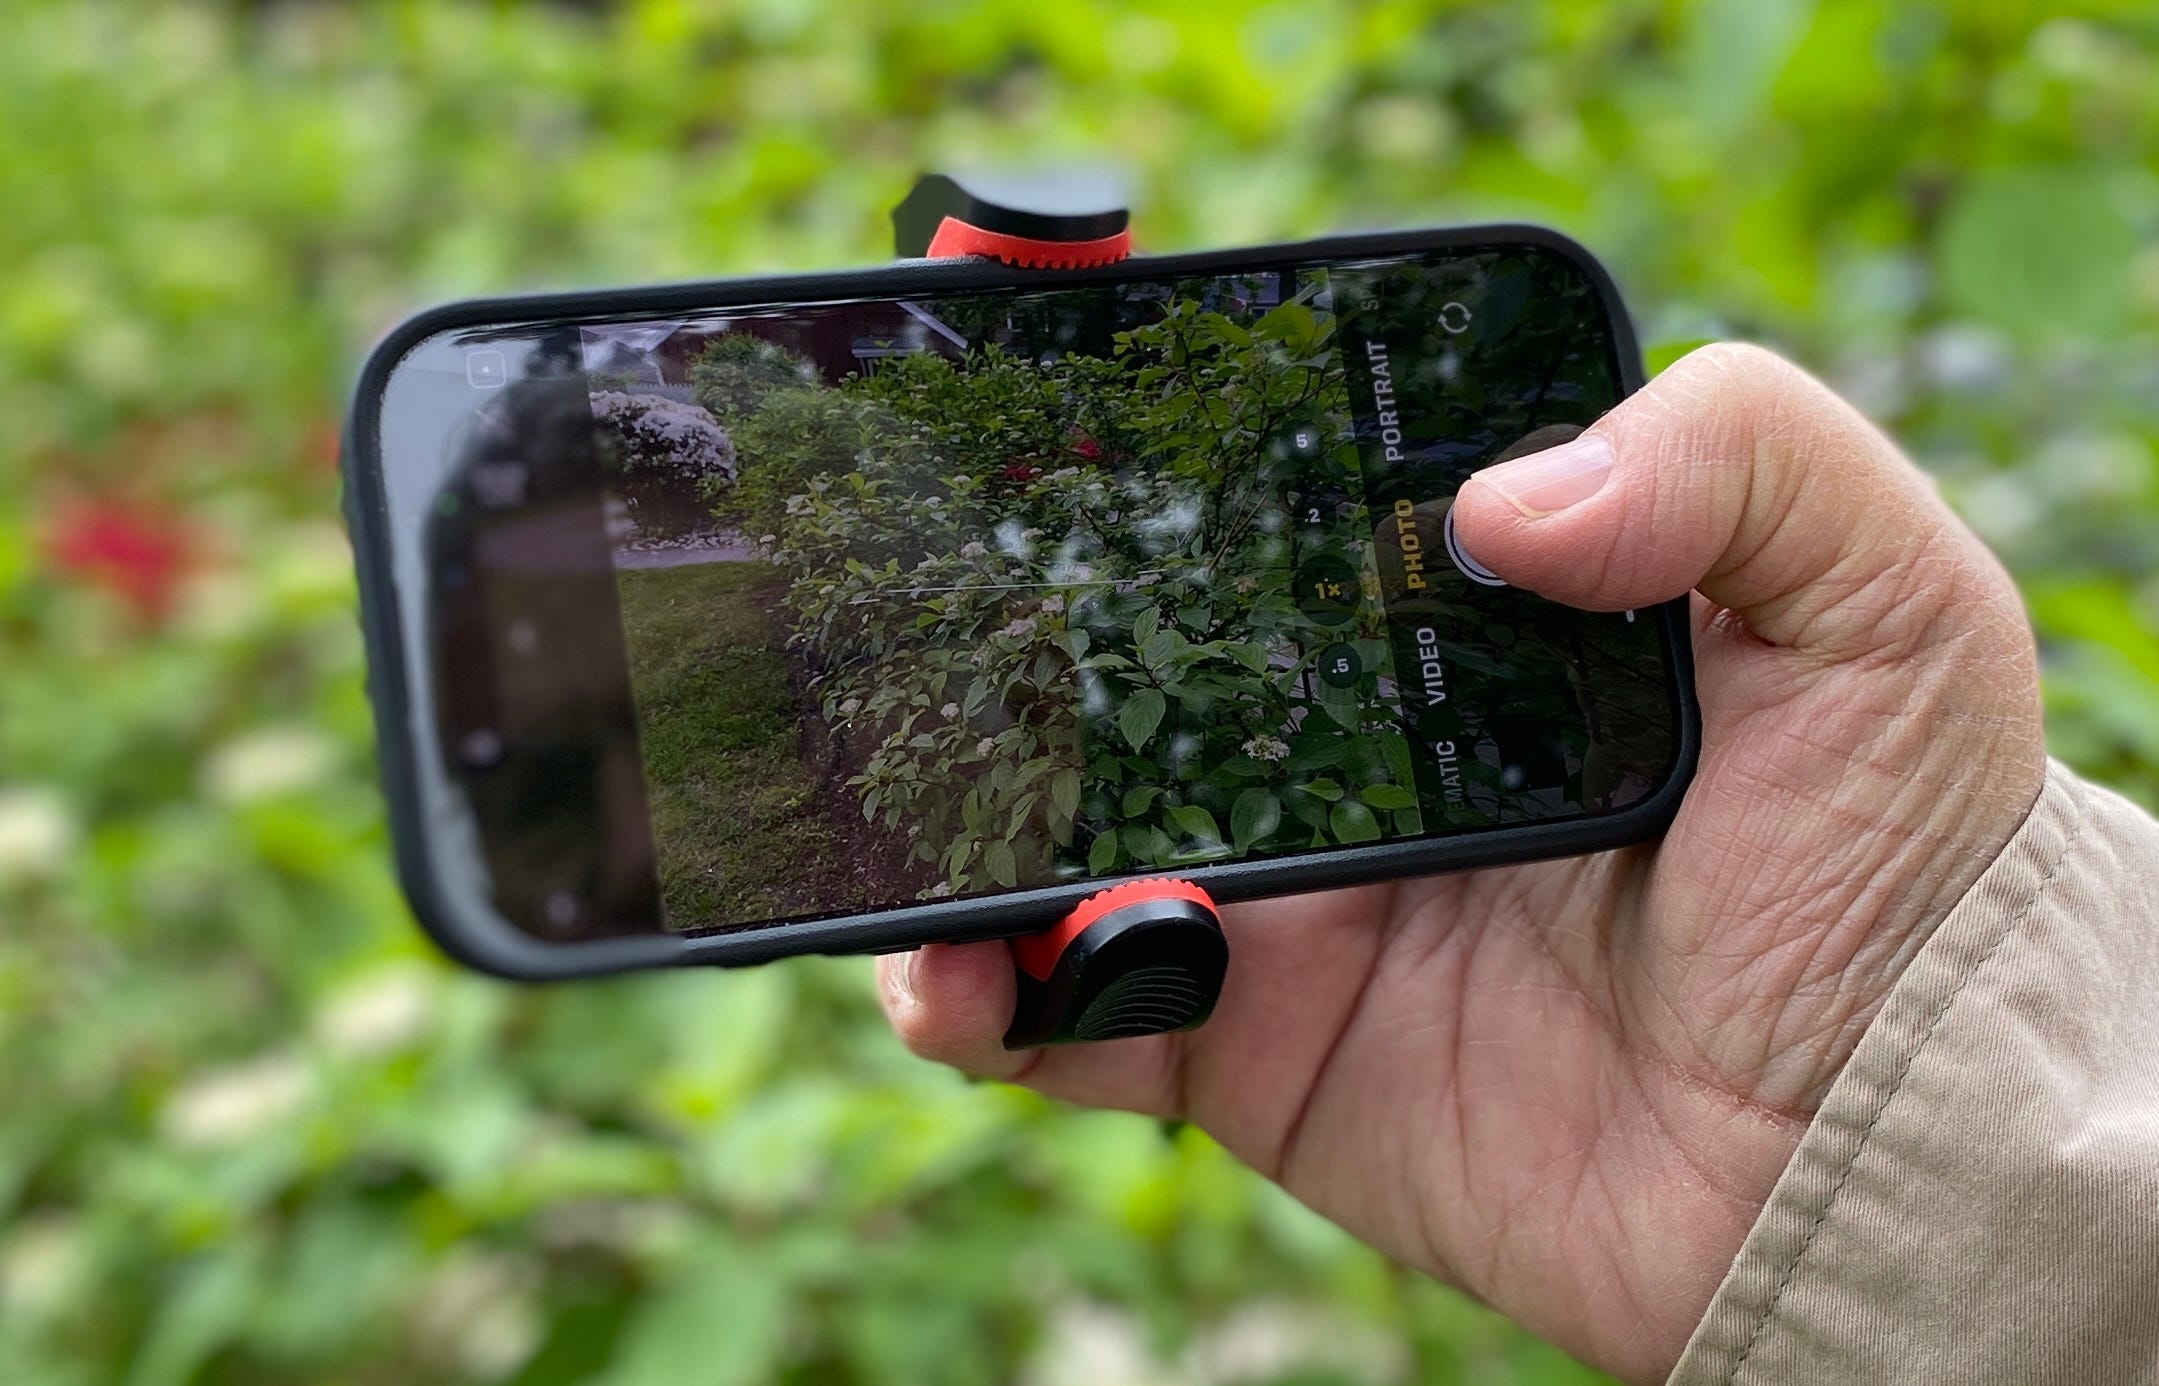
Another great alternative is to use an iPhone clamp for a secure one handed grip. Clamped on the back side of the iPhone it creates a nice camera-like handhold and also frees your thumb to work the settings and shutter release. A terrific option if you are on a bumpy excursion boat or amusement park ride. Any place where you need one hand to hold on while you’re taking that selfie.
OUT OF HAND
For me, the point is showing you being somewhere. I think the best travel self-portraits feature the place as much as the people. It’s really hard to do that in a hand-held selfie, so as part of your travel narrative, take a few strategic self-portraits out of hand.
Now, I’m not a big fan of selfie sticks, but if that’s your jam I get it. There are spots - extended out over a cliff, for instance - that it’s the only option. But I find it a little touristy and distracting.

By the way. Please pay really close attention to where you step. One of the most tragic statistics I’ve heard is that more people lose their lives taking selfies each year than are killed by shark attacks. A LOT more.
Most selfie sticks, however, do offer some utility as a small tripod, and along with pop-out legs on iPhone cases, 20 oz. lattes, propped up backpacks, water bottles, and actual mini-tripods, can offer a nice iPhone stand to let you a full body picture of you against the Golden Gate Bridge.
Many selfie sticks now include a Bluetooth camera remote to trigger the photo. Just position yourself and trip the shutter. The iPhone does the rest. If you don’t have a Bluetooth trigger you can even use the self-timer.

SELF TIMER TRICKS
Speaking of self timers, this feature comes with a couple of nice tricks up its sleeve.
The first is that when you use the self timer you get a burst of 10 shots. This is great when you are out in wind with blowing hair, have a group of people, are trying to catch a jump, or have background objects in motion. You get 10 frames over about 3 seconds to choose from, improving the chances that you’ll get a shot where everyone has eyes open or the jump will be caught at full height. You can review and discard the extras in Edit mode.

Photo by Mark Donham aka “Radioman” on his 2 year world motorcycle tour. He used a self timer and tripod to capture more than 60 of these landmark jumps on his travels
PHOTO ASSIST
Finally, you’re going to have those moments when you hand off your iPhone to a friend, passerby, tour guide, or waitperson. Yes. In the travel universe these count as self-portraits too. When that happens there are some things you can do to help direct the best possible outcome.
In the Lock Screen, swipe left to go directly into the Camera App. This is a nice feature that lets someone take a photo for you without actually unlocking your iPhone.
Turn on Live Photo in the Camera App. This captures a 3 second Live Photo when they take a shot so that you can fix any bad timing on their part (eyes closed, hair in face, a photo bomber in the background, etc.) by finding a better frame in Live Photo.
Ask them to back off a little and include your surroundings. You can always crop in if you want but you can’t recover a background that isn’t there. And in travel photos the setting is the subject too. They may not understand that.
That’s it!
Bringing back a complete story of your journey is a treat that you can share and enjoy for a lifetime. When you travel be sure to include some self-portraits that show off the places you discovered and the way you were.
Wherever that is.